Orange Sunkist Shrimp (Caridina cf. propinqua)

ImageI really love the batch of Orange Sunkist shrimp I recently purchased from Bob’s Tropical Plants. I was actually rather worried about their temperament and activity level when I first introduced them to the tank, but they have proven to be extremely robust and active shrimp. They have become much more vibrant over the last few weeks, and I wanted to show them off to other people who are looking into trying some new color varieties of shrimp.

ImageSo far, the only potential downside I have found with these shrimp is that they seem to need brackish water to reproduce. I’m not entirely convinced that this is the case, but so far I have not seen any berried shrimp to test this out. Many of the shrimp that are often listed as needing brackish water “need” brackish water in part due to the micro-organisms that they can feed on as newborns. I’ll be sure to update on their progress once I see some possible shrimplets developing.

Image

I have five of these shrimp in my micro lace java leaf tank. They are quite active and eat any food I add voraciously. The floating salvinia in the tank seems to be a favorite grazing area for some of them.

Image

These shrimp range in color from a bright orange to a clear and brown color, like the one above. The brownish shrimp blend in quite well!

1r

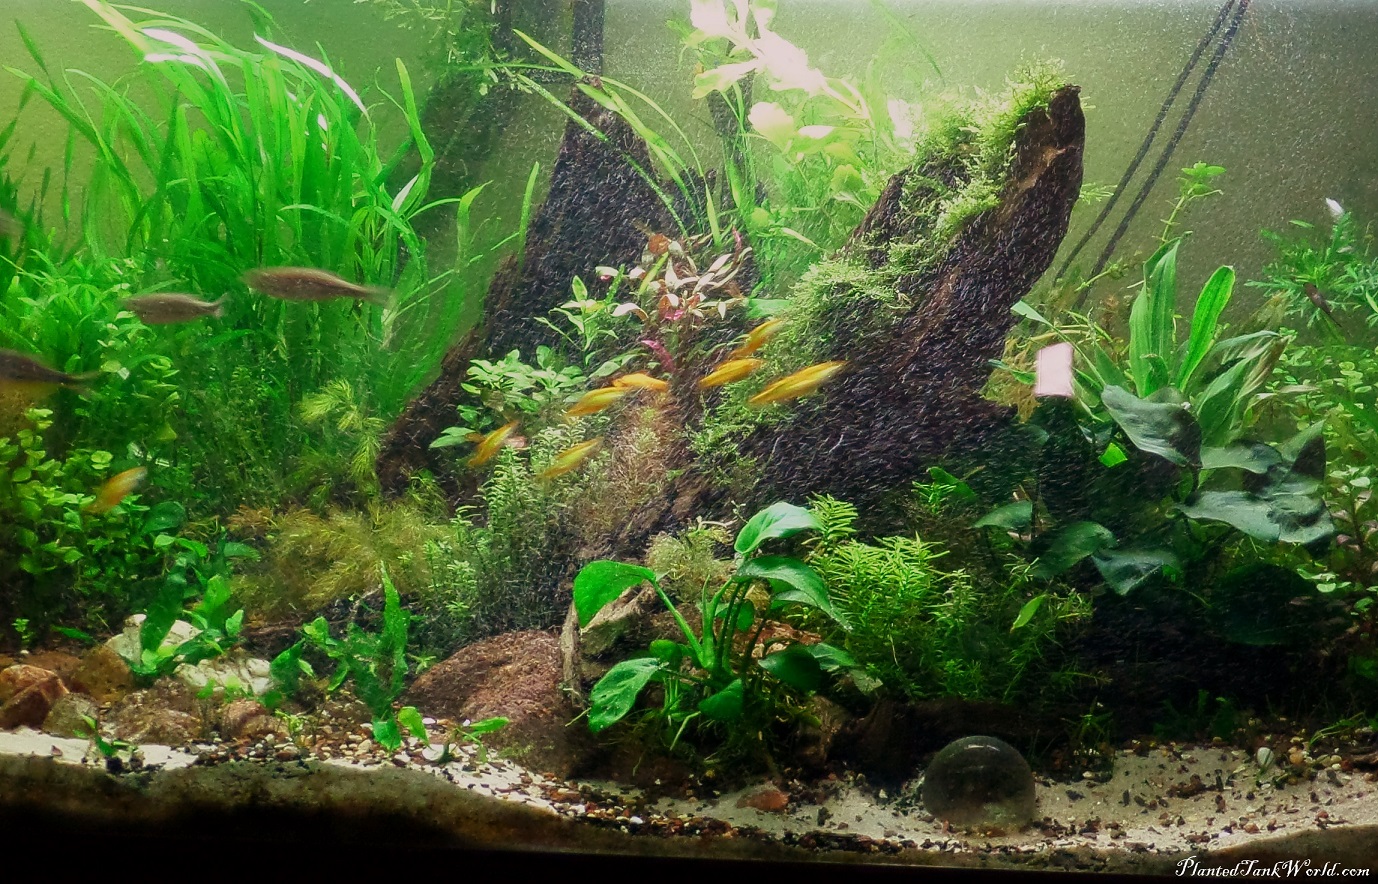
Especially with this tank being mostly dark colors and really embracing shadows and texture, having sudden bright flashes of color really pulls the tank together. And it helps show off the shrimp when they are in the visible portion of the front.

1a

4.12 Gallon – Self Critique and Rescape

ImageSo I wasn’t super happy with how my 4.12 gallon tank came out. Aesthetically the tank seemed off balance and missing something. Even worse, the plants and shrimp were not thriving the way those in my other tanks were. There wasn’t nearly as much new growth, and sections of the tank were accumulating detritus and causing plants to rot. Somehow this tank wasn’t healthy. Here’s a shot from before this rescape for perspective:

Image

Here is a rundown of the main issues facing my tank, and how I fixed them:

1. Plants rotting, detritus buildup —> Increase water flow, trim/move plants, vacuum

  • Stagnant water and areas of low flow within a tank can inhibit plant growth or cause decay in weakened plants.
  • Plants reach the water surface can greatly impede water flow. Trimming plants to give a few inches of clearance can make a large difference to the tank circulation.
  • Moving plants away from the tank walls and corners can reduce low flow zones and allow circulation around plant clusters. Decaying plant matter often collects in corners, and is far easier to monitor and vacuum if plainly visible.
  • Vacuuming often as part of a small water change. After each mini vacuuming, pour the the fresh water into the tank such that it flushes out planted/low flow areas and stirs up detritus. Sometimes an immediate second vacuuming can be used as well. It is important not to remove too much water or disturb the substrate during this process, else the tank could endure a mini-cycle with spiking ammonia, nitrites, and nitrates.

Image

2. Tank lacks balance, crowded, no focal point —> Return to simplicity, increase open space

  • Simplify – reduce the different types of hardscape, plants, and substrate. I chose to remove the wood, leaving only rocks with similar coloring, texture, and cleavage. The tank feels much more spacious now, and the rocks form a clear focal point, contrasting the plants.
  • Space – I trimmed down the plants and bunched them more tightly, away from the walls of the tank. This helped the water flow greatly, and it also melded the previous chaotic mess of plants into a condensed bush. Suddenly the plants were united into one element, offsetting the substrate and hardscape nicely. The open space above the plants makes the tank look far larger than it is.

Image


Image


Image

Hopefully this helps! I’ll update again in a few weeks once the tank has stabilized again.

Water Changes – Refilling the 150

I love watching my 150 gallon tank during water changes. As I add water back into the tank, the fish go crazy, swimming through the bubbles and schooling tightly. My gold barbs group together, swimming throughout the tank in a hug pack. Here are some shots of the tank during the refill that I liked:

Bubbles 4

Bubbles Center Gold Barbs

Bubbles Oto

Bubbles Right


I used to use Seachem Prime during all of my water changes. If you don’t use this stuff, start! It works wonderfully, and a single bottle lasts a long time. For my 150 gallon, because it is so large, I began using Seachem Safe. Safe is just a concentrated powder version of Seachem Prime. Both are phenomenal products that have made my water changes easier. They also can be used for emergency situations, like ammonia spikes.

SAMSUNG CAMERA PICTURES

When doing big water changes, it is much easier to be able to add the new water right to the tank from the faucet (as opposed to individually treating buckets and pouring them in). To the tank being filled, add enough Prime or Safe to treat the full volume of the tank, then refill the tank with tap water as usual. Of course, if your tap water isn’t acceptable for water changes, this process won’t work well for you.