My 150 Gallon Freshwater planted community tank – from beginning to present day

There were two main reasons why I insisted on living in a house this year. (1) Get a dog and have a nice yard and (2) get a ridiculously large fish tank. Given that I’m in grad school, many of my fellow students rent apartments or live in multi-level buildings where dogs and fish tanks that weigh as much as a full water bed would not be allowed.

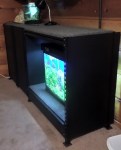
I bought that 150 gallon with stand and hood (with T8’s… upgraded those immediately) for $5oo on craigslist. It wasn’t in phenomenal shape, but it was and is mine. My biggest regret was not paying enough attention to realize we’d put it down with the majority of the scratches on the front pane of glass. Given that it took five people to move, and that this mistake wasn’t noticed until after hardscape and water were in place, it’s something I guess I’ll have to live with.

Anyhow, here is my original hardscape:

150 Hardscape 3 - Cropped

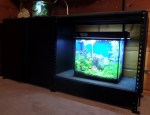
Here is the tank after a few rounds of adding plants, adjusting some of the hardscape…

SAMSUNG CAMERA PICTURES

SAMSUNG CAMERA PICTURES

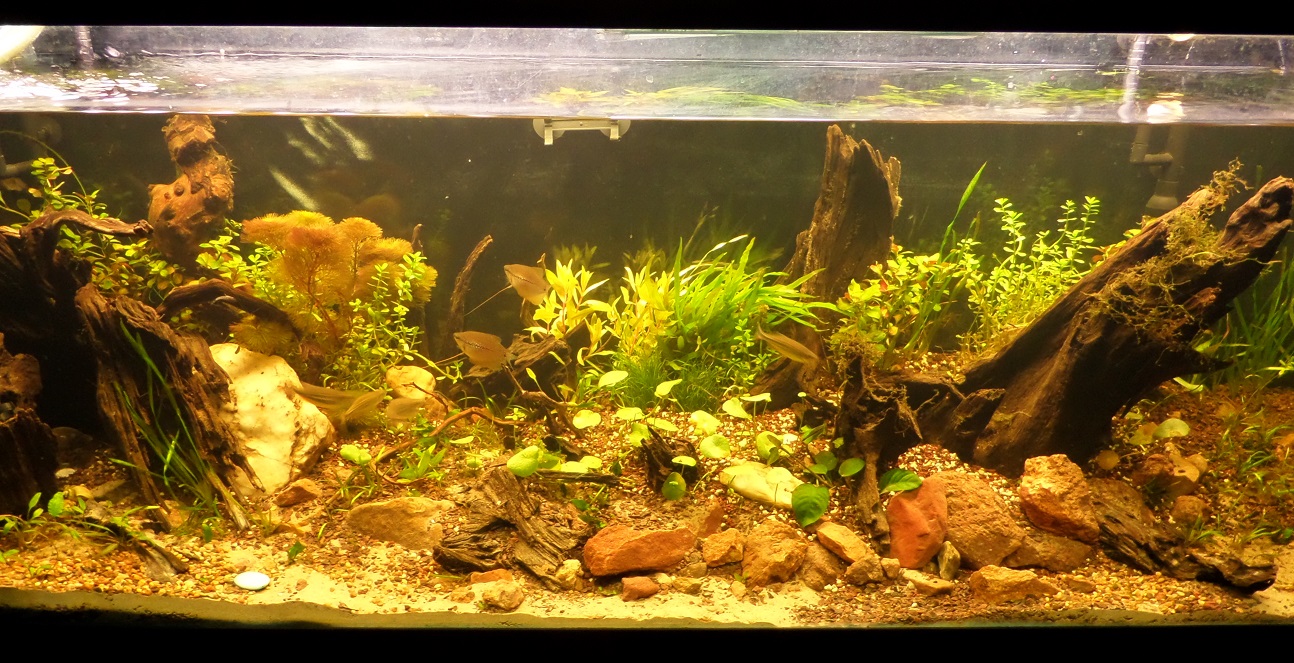
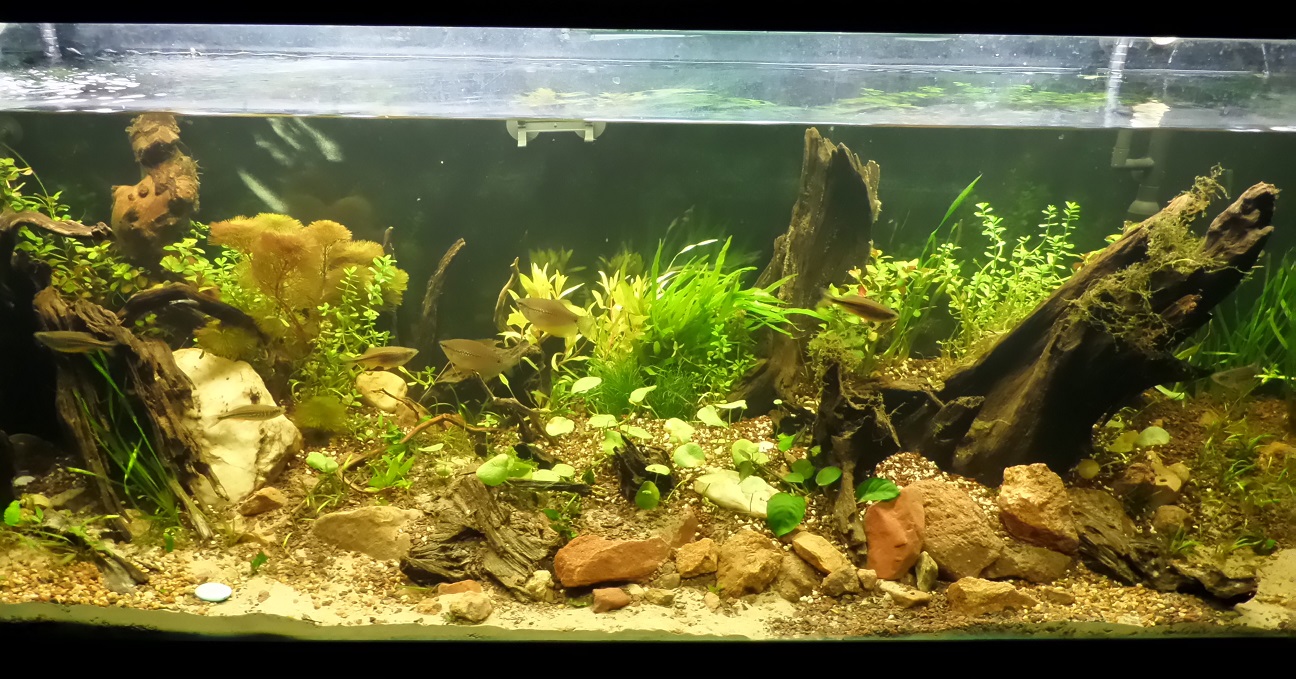
And here is my tank today, about six months after the initial setup:

SAMSUNG CAMERA PICTURES

There’s more work yet to be done, and plenty more growing before I’m really happy with the tank. The hardest part of it all is the waiting. Stopping myself from trimming and rearranging constantly was one of my hardest tasks….at least until I got so many other tanks that I don’t have time for much else.

Review of Truaqua’s Aquatop High Clarity, Low Iron Rimless Cube Tanks

I  recently bought four rimless cube tanks from TruAqua under the label of Aquatop. I couldn’t really find any reviews or comments on the quality of these tanks other than on their own website. Yet after a few days of searching high and low amid holiday sales, I couldn’t find rimless nano tanks that came anywhere near close to these Aquatop ones in price or quality. So I cut the cord and ordered FOUR of the following sizes: 2.11, 4.12, 7.13, and 11.33 gallons.

These tanks came with free shipping and were just generally dirt cheap compared to other similar tanks I’d been considering. Here are some shots of the initial unwrapping:

I’ve got to say, I love these tanks. Granted, I’ve never bothered to spend as much as would be needed to get an ADA or other such gold standard tank, but these Aquatop tanks are wonderful. Maybe one day I’ll be picky enough to really appreciate having some of the more expensive low-iron, high clarity rimless tanks, but, for now, these are phenomenal. 🙂

Update! 4/4/2014

This post gets almost daily traffic these days from people wanting to know more about the Aquatop rimless cube tanks. As this was one of my earlier posts, some of the pictures weren’t great. If you want to see more shots of how these tanks look in action or to get an idea of their size compared to certain fish, scaping materials, filters, etc, then check out some of my posts on the development of these tanks.

The tanks themselves have held up really well! All four are going strong. No leaks. No defects. Not easily scratched. Still super clear. Easy to use, easy to setup, sturdy, easy to clean. I’d probably buy more of them if I wasn’t running low on space and money at the moment. I’d like to hear if anyone has had any issues with them that I haven’t, and I’m also really curious about what the more expensive/prestigious versions of rimless, low-iron glass tanks could be doing better! So I guess this is my blog-style request that someone who has had both one of these and a pricey rimless cube let me know which they would get if they were to buy another/recommend one.

Building a Multi-Tank Stand

I recently decided that I want to reach a professional level designing planted tanks. After the last year or two of constant researching, planning, plotting, saving…I finally placed an order for six nano tanks. Four were from Truaqua.com, the least expensive yet super swanky tanks I could find available. Two others were from Blooms and Branches, a popular site among aquarium enthusiasts, mostly for its manzanita branches. (Sidenote: get the sand blasted ones! The red bark, while beautiful, will mold and fall off anyway.)

Anyway, with six new tanks, ranging from 1 to 11.5 gallons, on the way, I knew I needed a place to put them all. This was my solution:

And here is that same stand, loaded with the tanks and a nice big mess in front of it after a long week of tank work and being too lazy to clean up after:

SAMSUNG CAMERA PICTURES

Here’s how I did it… And I’ll also post some nice pictures of it all cleaned up and pretty looking soon.

  1. I wanted something that could hold more weight than I could imagine putting on it, but I also wanted something that would give me flexibility. Annnnd, I definitely didn’t want to have to build all of it from scratch. So I selected this Edsal 48 in. W x 72 in. H x 24 in. D Steel Commercial Shelving Unit from the Home Depot. Sturdy and adjustable, and on sale when I got it.
  2. I wanted to add cabinets of some sort to the unit, but adding hinges and such seemed like a lot of effort. My original plan was to simply add screws that slip into the rivets holders of the shelving unit. This worked decently, but I plan on moving over to magnets in the future. I used thin, prepainted “chalk board” plywood for the doors. I added in a panel between the two side-by-side shelving units to allow to left side to be used for storage. As you can see in the messy pictures above, they give me a ton of useful storage space.
  3. The shelves that came with the unit weren’t exactly the most pleasing looking. On top of that, I wanted the entire unit to effectively be a single construct so that no tanks on top could wind up with an uneven surface. Thus, I took a 1 inche thick board, cut notches halfway through the board to fit the shelving frame, and laid it across both shelf sections. Then I took a piece of carpeting (~$0.45 per square foot) and attached it to all shelving tops with a staple gun. The carpeting wrapped around the edges and was stapled into the bottom of the shelves, and then I added a few extra staples on the top to stop the carpeting from bubbling up.
  4. To make the doors look a bit classier and cover any cuts I made that weren’t quite nice looking, I bought trim, painted them black, then used a few small nails to fix them on the edges of the cabinet doors. Then I painted the tops of the nails with a dab of the black paint I’d coated every other unpainted edge in, and called it a day.

I’d love to see other multi-tank stands people have designed! And let me know if you have any questions about how to do this project for your own tanks!